Demo and Haul-Off
We remove the old tile, pan, valve trim, and glass, then haul it all away. Any water-damaged drywall or rotted framing gets replaced before we build anything back. Debris leaves the site daily.
Shower Remodeling Scottsdale AZ means tearing out the failing pan, the cracked tile, and the caulk that never stops molding, then rebuilding the whole assembly watertight. We handle custom shower remodeling Scottsdale homeowners actually keep for decades: cement backer board, a full waterproofing membrane, and a Schluter system behind every wall. If your shower leaks, smells, or just looks tired, we tear it out and build it back correct.
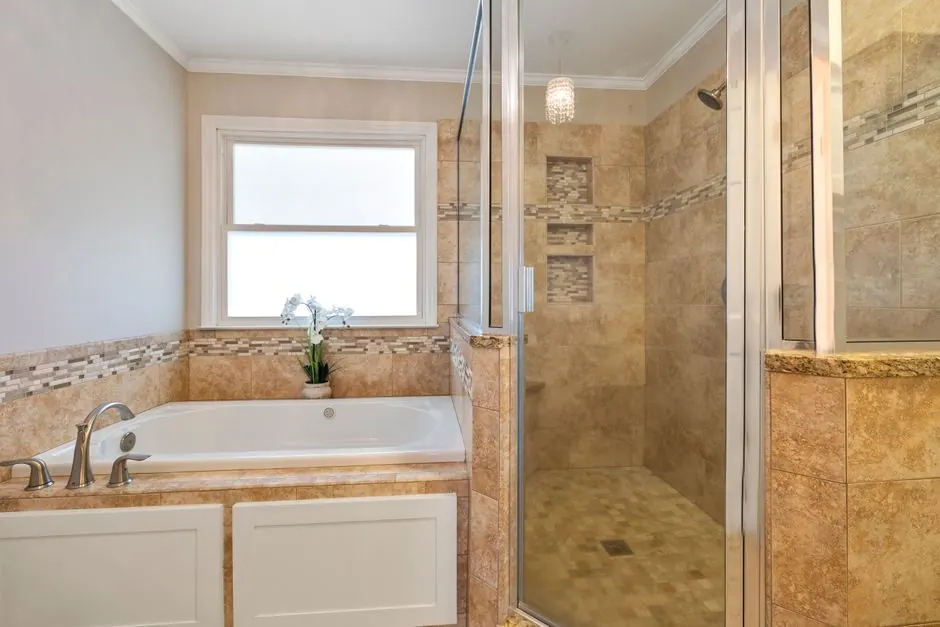
Shower Remodeling Scottsdale AZ is a full rebuild of the wet area, not a cosmetic refresh. We pull the old pan and tile, inspect the framing for rot, replace any water-damaged drywall, then set a new shower pan or a curbless base over a properly sloped mortar bed. From there it is cement backer board, a waterproofing membrane rolled and sealed at every seam, and tile set to ANSI A118 standards with a notched trowel and laser level keeping courses dead straight.
Most Scottsdale calls start the same way: hard water stains that will not scrub out, grout deterioration along the floor line, and a faint mold and mildew smell that comes back a week after cleaning. Our water runs hard here, and the heat cycling between a 110-degree garage wall and a cold shower speeds up failing caulk lines and cracked tiles. A shower renovation in Scottsdale, Arizona is the fix, and we quote it upfront before a single tile comes down.
Every shower we build includes the full wet-area assembly: demo, framing repair, backer board, waterproofing membrane, flood test, tile, grout, caulk, and fixture installation. Glass, tile selection, and fixture brand are where you make choices. Here is the breakdown.
We remove the old tile, pan, valve trim, and glass, then haul it all away. Any water-damaged drywall or rotted framing gets replaced before we build anything back. Debris leaves the site daily.
Cement backer board, sealed seams, and a full waterproofing membrane over the pan and walls. We flood-test the pan for 24 hours and photograph the result before tile goes down.
Porcelain, ceramic, or natural stone set to ANSI A118 standards with a wet saw and laser level. Epoxy grout in the joints and silicone caulk at every change of plane.
New shower valve, trim, and drain assembly, pressure-tested before the wall closes. We spec Kohler, Moen, Delta, or Grohe so replacement cartridges stay available for years.
A correctly sized exhaust fan, vented through the roof and wired to code. This is the piece that keeps mold from coming back after the remodel is finished.
We run the valve, check the drain for flow, test the fan, and inspect every caulk line with you standing there. You get a care sheet and the warranty terms in writing.
We measure the alcove, check the drain location, and moisture-meter the surrounding drywall to see how far the water damage spread. You get a written scope and a firm price the same day, usually within 90 minutes on site.
Tile comes down with an oscillating multi-tool and hammer, the old pan gets cut out, and we inspect the studs. Rotted framing gets sistered in, and any copper piping gets swapped to PEX if it is showing pitting.
The new shower valve, drain, and GFCI outlet go in, and the exhaust fan gets wired. We pull the permit through the Arizona ROC and meet the inspector before anything gets closed up.
Cement backer board goes up, then the waterproofing membrane, then a 24-hour flood test. Once it passes, we set tile with a wet saw, grout float, and epoxy grout, keeping every joint consistent.
Shower glass gets set, silicone caulk lines get run clean, and we test the valve, drain, and fan with you standing there. You get a walkthrough, a care sheet, and our warranty in writing.
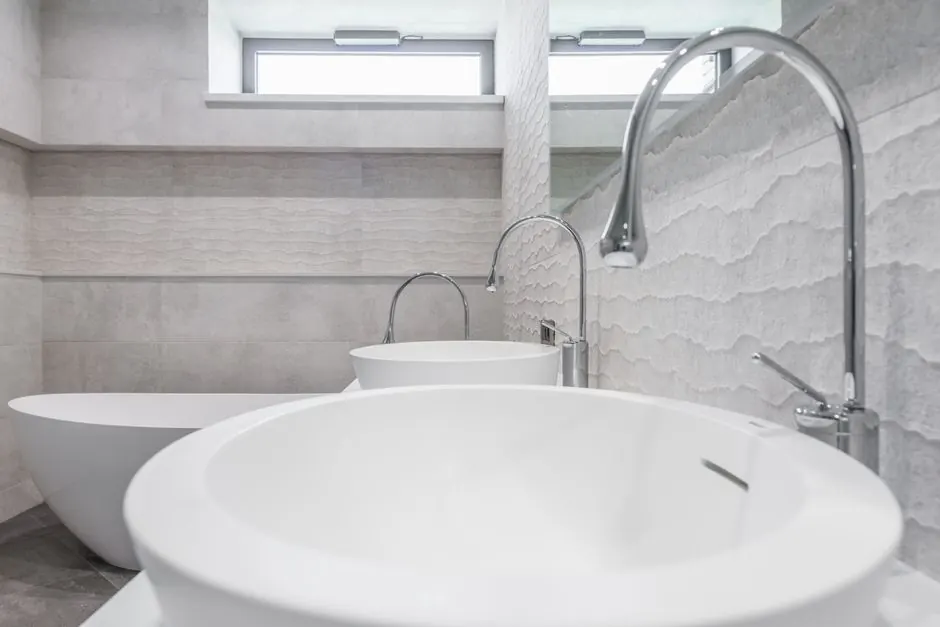
We measure the alcove, check the drain location, and moisture-meter the surrounding drywall to see how far the water damage spread. You get a written scope and a firm price the same day, usually within 90 minutes on site.
Cuts porcelain, ceramic, and natural stone cleanly, including large-format slabs and miters at the corners. A chipped or ragged cut is the fastest way to make an expensive tile job look cheap.
Keeps tile courses dead straight and spreads thinset at a consistent depth so every tile gets full coverage. Hollow spots behind tile are how cracks start.
Reads the water content in framing and drywall before and after demo. It tells us how far the leak spread without opening every wall in the room.
Packs epoxy grout into the joints and runs silicone caulk at every change of plane. Clean lines here are what separate a professional finish from a patch job.
Cuts out old valves and tile without wrecking the surrounding framing, and lets us swap copper piping to PEX in tight alcoves.
Sized ventilation and code-correct GFCI protection are installed on every job. These two items prevent most of the mold and electrical problems we get called back for.
A 1981 alcove shower with a pan set directly on drywall. Water had been weeping into the ceiling below for months, and the bottom two rows of tile pulled off by hand. Framing at the curb was soft to the touch.
After: We replaced four studs, rebuilt the pan on a sloped mortar bed with a new liner, and set porcelain tile over cement backer board and membrane. The 24-hour flood test passed clean, and the ceiling stain stopped growing within a week.
Book this service →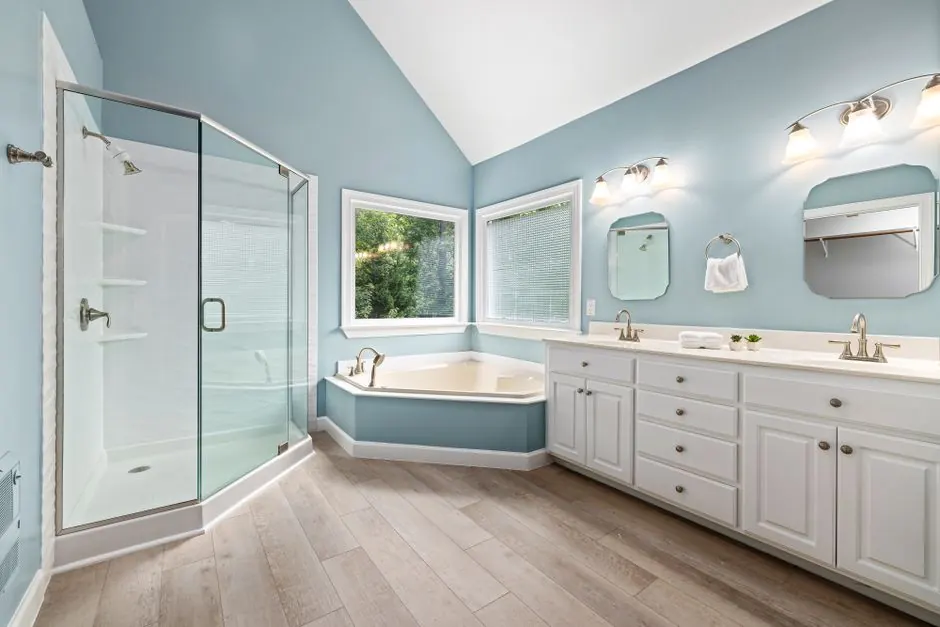
A garden tub nobody used, surrounded by a tile deck that collected dust and made the room feel cramped. The homeowner wanted a walk-in shower with grab bars for aging in place.
After: We cut out the tub, capped the drain, and built a curbless shower with a linear drain. Walls were blocked for grab bars during framing, and frameless glass went in after tile. Usable floor space grew by roughly 12 square feet.
Book this service →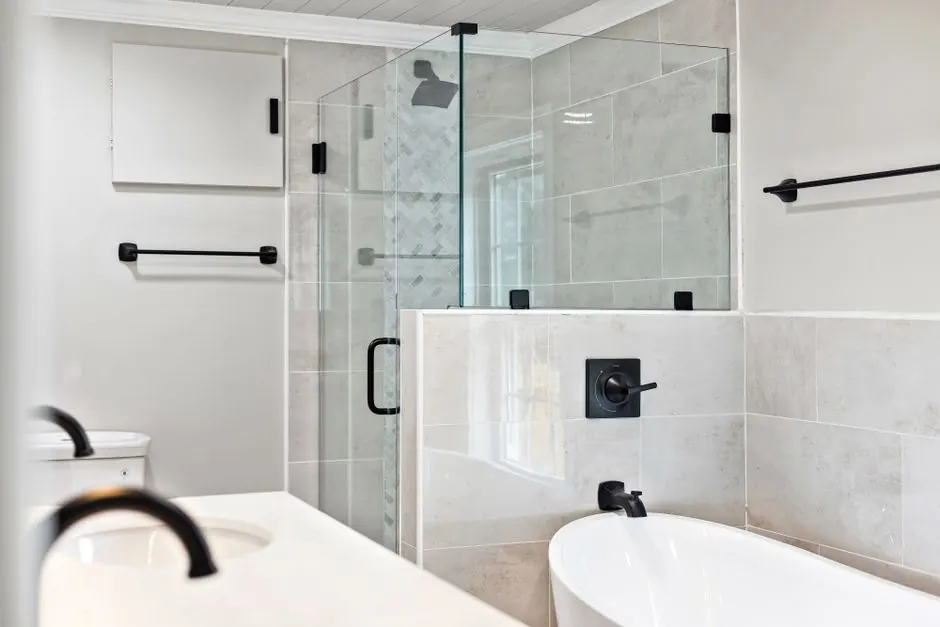
A 12-year-old shower with etched glass, stained cement grout, and caulk lines that peeled every summer. The tile itself was fine, but the room looked tired and cleaning took forever.
After: We removed the old grout, dried the substrate, and reset the joints with epoxy grout. New silicone caulk at every plane change, plus a correctly sized exhaust fan vented through the roof. Staining stopped and cleaning dropped to a two-minute wipe-down.
Book this service →Most showers we open up have been failing quietly for years. Here are the four we see most in Scottsdale, and what it takes to actually solve them.
Ask a pro →We cut out the pan, inspect the subfloor and framing, replace anything soft, then rebuild on a sloped mortar bed with a new liner and a 24-hour flood test. You see the test result before tile goes down.
We remove the failing grout, dry the substrate, and rebuild with epoxy grout and silicone caulk at the corners. Paired with a properly sized exhaust fan, the mold stops coming back.
We find the cause, sister in framing where needed, and set new tile over cement backer board and membrane. Silicone caulk at the changes of plane handles movement without peeling.
We replace the valve and trim with a current Kohler, Moen, or Delta model, flush the line, and test pressure at the head. Replacement cartridges stay on the shelf for the life of the fixture.
A standard alcove shower rebuild runs $6,500 to $14,000 in 2026, and a custom walk-in with a curbless pan and frameless glass runs $15,000 to $28,000. Tile choice moves the number most: porcelain tile sits at the low end, natural stone and large-format slabs push it up. Moving the drain or the valve adds plumbing labor on top.
Most showers take 12 to 18 working days from demo to final caulk. Waterproofing needs 24 hours to cure and the flood test runs another day, so you cannot compress that part. Custom glass adds about a week of lead time, which we order on day one so it lands when the tile is done.
Porcelain tile wins for most Scottsdale showers. It absorbs under 0.5 percent water, shrugs off hard water staining, and handles the heat swings in an exterior wall. Natural stone looks great but needs sealing twice a year here. Whatever you pick, set it with epoxy grout so the joints stop collecting mineral scale.
Yes, if you are moving or replacing the shower valve, drain, or any electrical. Maricopa County and the Arizona ROC require a permit for that plumbing and electrical work, and the inspection happens before the walls close. Tile and finish work alone usually does not need one, and we tell you which side of that line your job falls on.
One on-site visit, one firm price, no pressure. We are licensed, insured, and we pull the permits ourselves. Call now and we will get you on the schedule this week.
Get Free Quote +18556124434 →Call +1 855-612-4434 or email info@scottsdalebathroomremodeling.com and we will get back to you the same business day. We answer the phone Monday through Friday, 8:00 to 18:00, and we schedule walkthroughs across Scottsdale and Maricopa County within a few days. Bring your wish list and your budget.