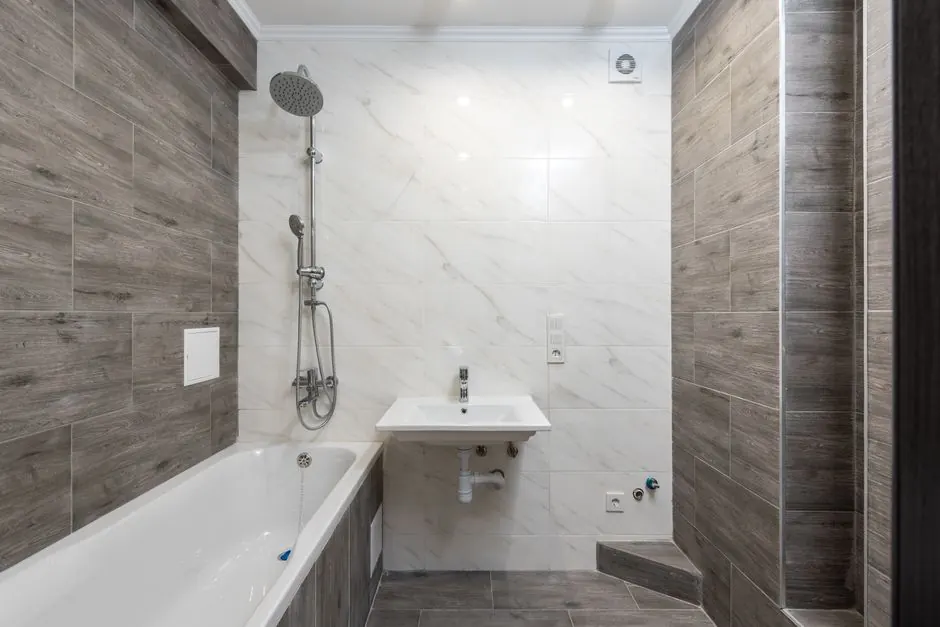
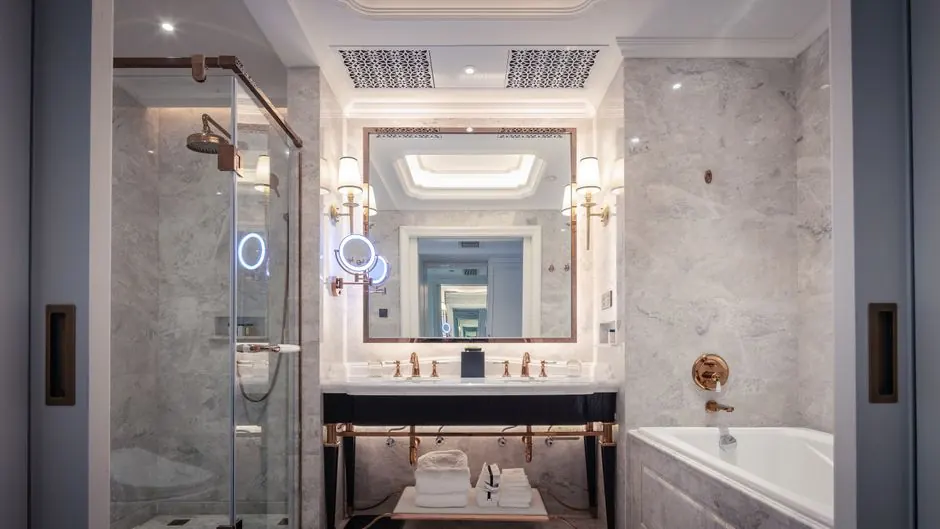
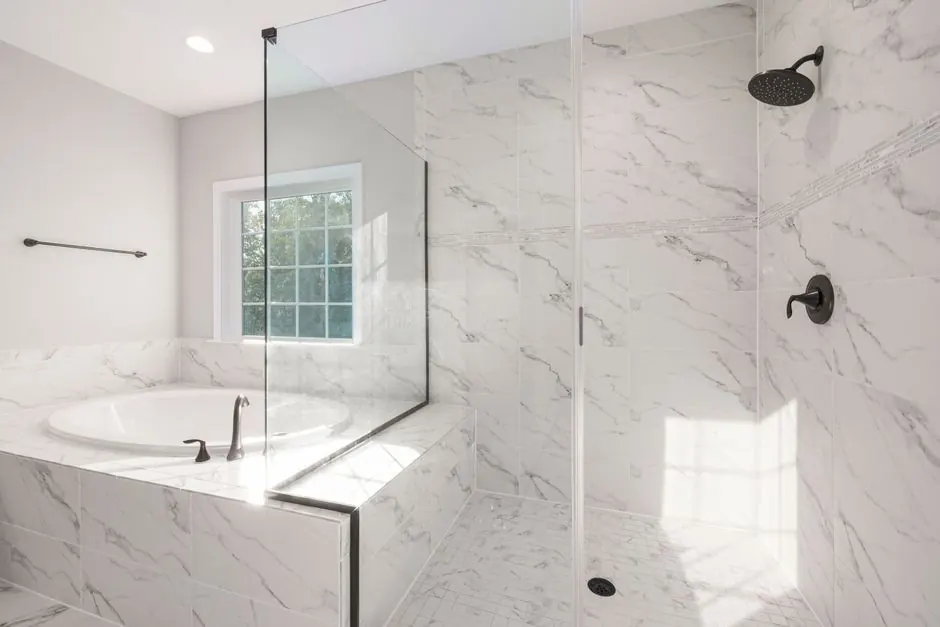
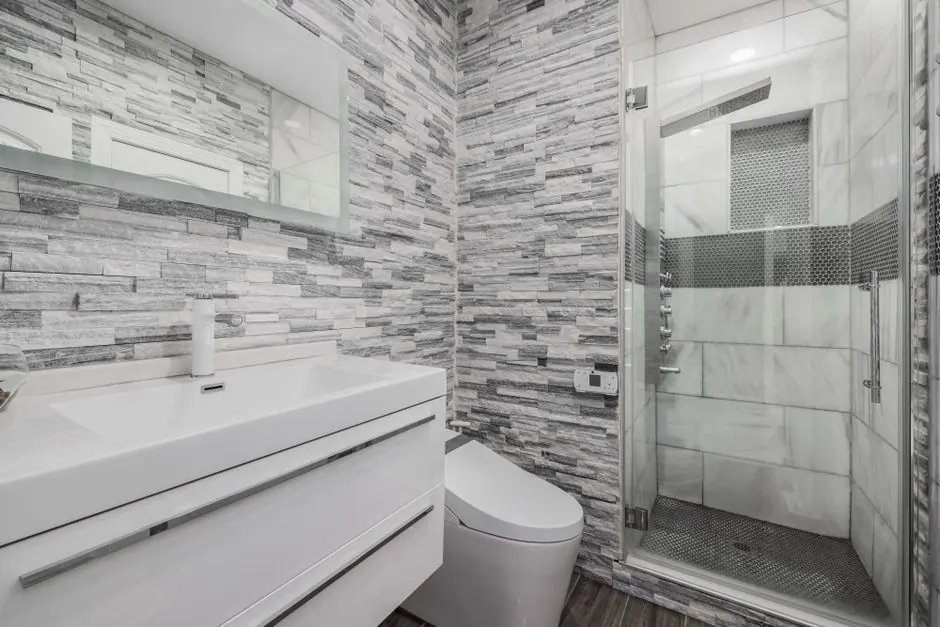
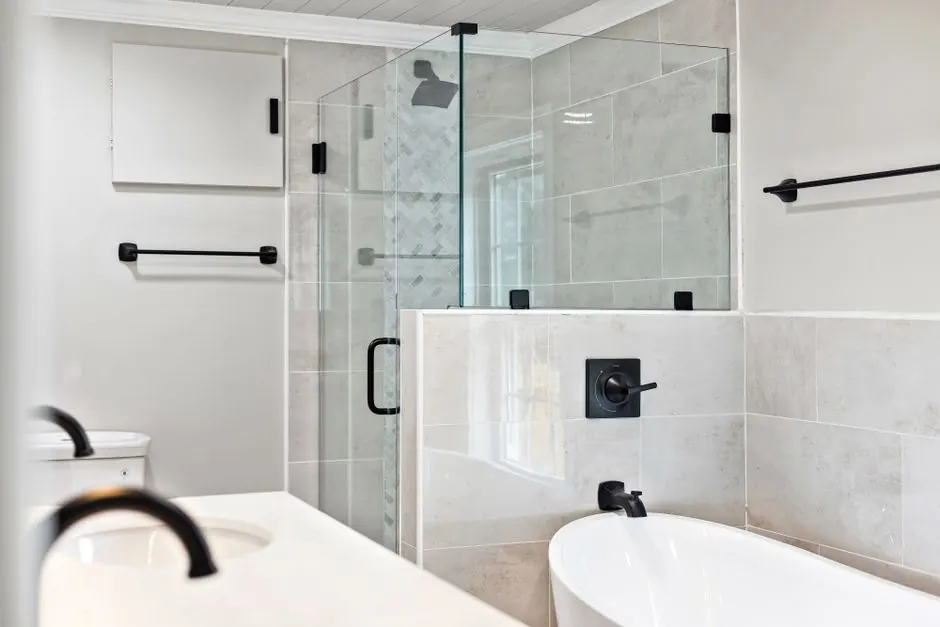
Porcelain, ceramic, and stone wall tile installed over proper waterproofing

Bathroom Wall Tiling Scottsdale AZ Built to Handle Desert Hard Water

Bathroom Wall Tiling Scottsdale AZ is what we do every week, from 85251 condos to 85255 master baths. We tear out failing tile, rebuild the wall with cement backer board and a waterproofing membrane, then set porcelain or natural stone on a laser-level plane. If your grout is crumbling, your caulk lines are black, or you just want a cleaner shower wall, we can help.

Dependable Bathroom Remodeling across Scottsdale
Careful work. Honest options.
About this service

Bathroom Wall Tiling Scottsdale AZ Done to TCNA Standards

Bathroom Wall Tiling Scottsdale AZ is the trade of setting porcelain, ceramic, or natural stone on your shower, tub surround, and vanity walls over a waterproofed substrate. It is not a cosmetic job. We pull the old tile, inspect the cement backer board, replace any drywall that has gone soft, then roll on a waterproofing membrane before a single tile goes up. Grout lines get epoxy grout in wet zones, and every change of plane gets silicone caulk, not grout.

Scottsdale water is hard, and that matters. It leaves mineral film on ceramic tile, eats through cheap grout, and finds any pinhole in a failing caulk line. Homes in 85258 and 85259 built in the 1980s and 1990s often still have original tile over greenboard, which is why we see mold and mildew behind walls so often. If you are searching for bathroom wall tile installation near me Scottsdale, we handle the tear-out, waterproofing, and finish work under one Arizona ROC licensed crew.

  • ✓ Waterproofing That Lasts
  • ✓ Hard Water Resistant Finish
  • ✓ Large Format, Fewer Grout Lines
  • ✓ Code-Correct Electrical and Ventilation
What's included

What Our Bathroom Wall Tiling Service Includes

Every wall tiling job includes demo, substrate repair, waterproofing, tile setting, grout, caulk, and cleanup. Add-ons like new plumbing fixtures, lighting, or a shower door are priced separately so you only pay for what you want. Here is what is covered as standard.

01
✓

Demo and Haul-Away

We remove the old tile, backer board, and any damaged drywall, then haul it away. Floors and vanities get protected before demo starts. On a standard tub surround this takes one to two days, and we keep dust contained with plastic sheeting and a HEPA vacuum at the saw.

02
✓

Substrate and Waterproofing

New cement backer board goes up where drywall was wet or crumbling. We tape seams, roll on a waterproofing membrane at all wet areas, and flood-test the shower pan. This is the layer that keeps water out of your wall framing, and it is never optional on our jobs.

03
✓

Tile Setting and Grout

We set your chosen porcelain, ceramic, or natural stone with full coverage and a laser-level first course. Wet zones get epoxy grout. Every inside corner and change of plane gets silicone caulk instead of grout, because grout cracks where walls move and caulk does not.

04
✓

Cutouts and Trim

Shower valves, niche edges, and outlet cutouts get measured and cut clean, not hacked in with a grinder. We use a wet saw with a diamond blade for straight cuts and a diamond hole saw for plumbing penetrations. Trim pieces and edge profiles finish the job where tile ends.

05
✓

Cleanup and Walkthrough

We sweep, vacuum, and wipe down every surface before we leave. Then we walk the job with you, check joints with a straightedge, and hand over care instructions for the first 72 hours. If something reads wrong in the first year, we come back and fix it.

How it works

How Our Bathroom Wall Tiling Process Works

We walk the bathroom with you, measure every wall, and check for soft drywall, cracked tiles, and failing caulk lines. You get a written scope and a fixed price the same day. If we find water damage behind the wall, we show you a photo before we touch anything. Most estimates take 45 minutes.

We protect the floor and vanity, then remove the old tile with an oscillating multi-tool and a chisel. Drywall that crumbles or reads wet on a moisture meter comes out. We replace it with cement backer board, tape the seams, and let the thinset cure. Demo on a standard tub surround runs one to two days.

We roll on a waterproofing membrane at all wet areas, then set a laser level line for the first course. Tile layout gets marked on the wall so you can see where cuts land before we cut. This is the step that decides whether the finished wall looks custom or cobbled together.

We set tile with a notched trowel and back-butter large format pieces for full coverage. A tile saw handles the cuts; a grout float packs the joints. Wet zones get epoxy grout, and every inside corner and change of plane gets silicone caulk instead of grout. Setting and grouting a tub surround usually takes two to three days.

We clean the tile, check every joint with a straightedge, and walk the job with you before we pack up. You get care instructions for the first 72 hours while the caulk cures. If anything reads wrong in the first year, we come back. That is the warranty, in plain terms.

Bathroom Wall Tiling
STEP 01Walkthrough and Measure

We walk the bathroom with you, measure every wall, and check for soft drywall, cracked tiles, and failing caulk lines. You get a written scope and a fixed price the same day. If we find water damage behind the wall, we show you a photo before we touch anything. Most estimates take 45 minutes.

Tools & methods

Tools and Methods We Use on Wall Tile

01
✓

Wet saw with diamond blade

Cuts porcelain, ceramic, and natural stone cleanly without chipping the glaze. We run it outdoors or at a wet station to keep dust out of your home.

02
✓

Notched trowel and grout float

The notched trowel controls thinset depth for full coverage behind each tile. The grout float packs joints tight so grout does not shrink and crack.

03
✓

Laser level

Sets the first course dead level so every row above it stays true. On a full wall, a laser saves hours of shimming and keeps the layout honest.

04
✓

Moisture meter

Reads moisture behind the wall before and after demo. If the reading is high, we know there is a leak to fix before any new tile goes up.

05
✓

Oscillating multi-tool

Cuts caulk lines, trims backer board around plumbing, and removes thinset from corners without damaging the framing behind it.

06
✓

Schluter edge profiles and membranes

Schluter trim finishes tile edges cleanly, and their waterproofing membranes are one of the systems we trust behind wet-area walls.

Real results

Before and after.

1990s Tub Surround Rebuild in 85258
Bathroom Wall Tiling

1990s Tub Surround Rebuild in 85258

Original ceramic tile over greenboard with black caulk lines and two cracked tiles near the tub deck. A moisture meter read high behind the wall, and the drywall crumbled when we pulled the first tile.

After: New cement backer board, a waterproofing membrane, and 12x24 porcelain tile with epoxy grout. The shower pan passed a flood test, and the wall reads flat with no lippage over 1/16 inch. Five working days start to finish.

Book this service →
Master Bath Travertine Refresh in Paradise Valley
Bathroom Wall Tiling

Master Bath Travertine Refresh in Paradise Valley

Twelve-year-old travertine walls that had gone dull and stained from hard water. Several tiles were cracked around the shower valve, and the caulk lines had pulled away from the corners.

After: We replaced the cracked tiles with matching stone, honed and sealed the full wall, and re-caulked every corner with silicone. The stone reads uniform again, and the wall passed a moisture check before we closed up.

Book this service →
Small Condo Shower Retile in 85251
Bathroom Wall Tiling

Small Condo Shower Retile in 85251

A small Old Town bathroom with a cracked tile next to the shower valve and a failing exhaust fan. The wall behind the valve had soft drywall and early mold growth.

After: We opened the wall, replaced the backer board, installed a new exhaust fan, and retiled the full shower wall in large format porcelain. The layout centers on the vanity wall, and the GFCI outlet cutout is clean. Four days of work.

Book this service →
Problems we solve

Bathroom Wall Tile Problems We Fix in Scottsdale

Most wall tile calls start with one of these four problems. Each one gets worse if you wait, because water keeps working behind the tile where you cannot see it.

Ask a pro →
01

Black caulk lines and mildew at the tub deck

We cut out the failing caulk, treat the joint, and replace it with silicone caulk rated for wet areas. If the moisture meter reads high behind the wall, we open it up, replace the damaged backer board, and re-waterproof before setting new tile.

↗
02

Cracked or drummy tiles on the shower wall

We remove the failed tiles, check the surrounding field for bond, and rebuild the affected area with new backer board and thinset. If the whole wall is drummy, a full retile is the honest answer, and we will tell you that at the estimate.

↗
03

Hard water stains that will not scrub off

We retile with glazed porcelain and epoxy grout, which resist mineral buildup far better. For natural stone we seal the surface and recommend a squeegee after every shower. Most clients see the difference within the first week.

↗
04

Soft drywall behind the tile

We remove the soft drywall, inspect the framing, and replace it with cement backer board. Then we apply a waterproofing membrane and let it cure before tile goes up. It adds a day to the schedule and saves the wall.

↗
Proof you can check

Licensed, Insured, and Warranted

  • Arizona ROC Contractor License · Arizona Registrar of Contractors
  • EPA Lead-Safe Certified Firm · U.S. Environmental Protection Agency
  • Waterproofing Membrane Certification · Manufacturer training program
  • ANSI A118 and TCNA Standards Compliance · Tile Council of North America
  • General Liability and Workers' Compensation Insurance · Licensed Arizona carrier
Good questions

Frequently Asked Questions About Bathroom Wall Tiling

+18556124434 →

Most Scottsdale bathroom wall tiling jobs run $1,800 to $6,500 in 2026, depending on square footage, tile choice, and whether we find water damage behind the wall. A basic tub surround with ceramic tile sits near the low end. A full master bath with large format porcelain, epoxy grout, and new backer board lands higher. We give you a fixed written price after the walkthrough, so the number does not move.

Porcelain tile wins in Scottsdale because it handles hard water and desert temperature swings better than ceramic. For shower walls, we recommend a glazed porcelain in 12x24 or larger with epoxy grout. Natural stone like travertine looks great but needs sealing twice a year in our water. If you want low maintenance, porcelain with epoxy grout is the answer.

A standard tub surround takes three to five working days from demo to final caulk. A full master bath with floor and shower walls runs seven to twelve days. Waterproofing needs overnight cure time, and grout needs 24 hours before light use. We give you a day-by-day schedule at the walkthrough so you can plan around it.

Sometimes, but we check first. If the existing tile is firmly bonded, the wall is flat, and there is no moisture behind it, we can skim-coat and tile over it. If a moisture meter reads high or the grout is failing, the old tile comes out. Tiling over a wet wall traps mold and mildew, and that repair costs far more than doing it right the first time.

Ready when you are

Get Your Bathroom Wall Tiling Scottsdale AZ Quote

Call us and we will walk your bathroom, measure the walls, and give you a fixed price the same day. We are licensed, insured, and we warranty our tile work. One call gets you a real number, not a range.

Get Free Estimate +18556124434 →
Request an appointment

Contact Our Scottsdale Bathroom Team

Call +1 855-612-4434 or email info@scottsdalebathroomremodeling.com and we will get back to you the same business day. We answer the phone Monday through Friday, 8:00 to 18:00, and we schedule walkthroughs across Scottsdale and Maricopa County within a few days. Bring your wish list and your budget.

↗
Emergency?Call now